
Improved Type Safety With SwiftGen
We'll see how we can use SwiftGen to add type-safety to our project's resources and enable us to write cleaner code.
If you’ve ever written code like this in your iOS project, I'd like to introduce you to a developer tool that's going to make your life a lot easier and your code a whole lot safer.
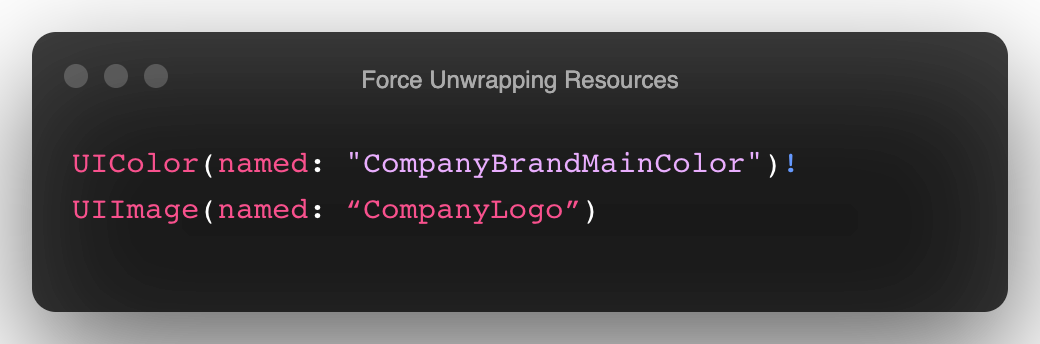
We know that when we try and access an image like UIImage(named:"image_name") that it returns an UIImage?. From here, most implementations will simply force unwrap the response in order to get access to the UIImage directly:
var image = UImage(named: "image_name")!
If you look at Swift projects on GitHub or code snippets on StackOverflow, you'll see examples of this behavior everywhere.
In practice, however, this means that if the image doesn't exist - for whatever reason - this seemingly innocuous line will cause our app to crash.
Now, imagine you’re on a team of developers that primarily focuses on product development work. Over the course of developing a new feature, assets, fonts, colors, and images will be frequently entering and exiting your codebase. An easily overlooked line like this is a crash waiting to happen.
Fortunately, we can use SwiftGen to add a measure of type-safety to our approach.
What is SwiftGen?
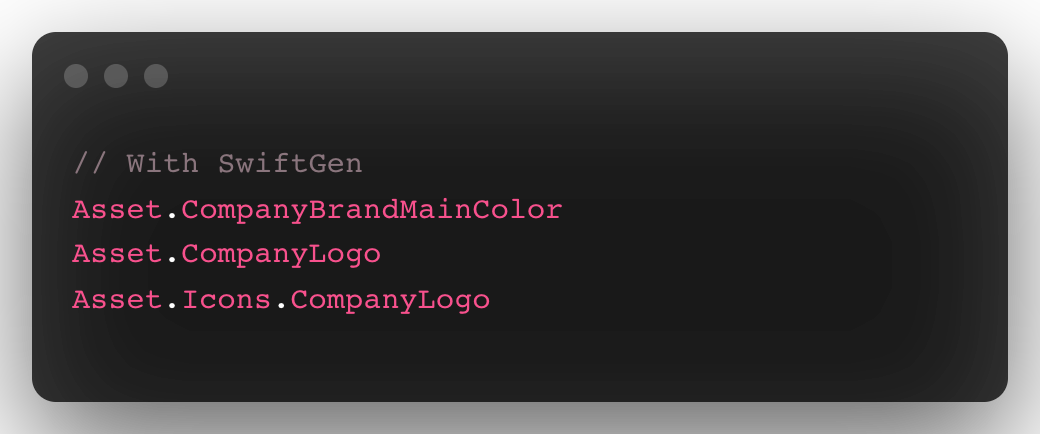
SwiftGen is a tool that automatically generates Swift code for all of the resources in your project allowing you to access them in a type-safe manner.
By examining our project's resources, SwiftGen can generate an enum that wraps those values and exposes them to the developer without the need for any force-unwrapping.
You can see SwiftGen's automatic generated code below (minus some boilerplate code):
internal enum Images {
  internal static let france = ImageAsset(name: "france")
  internal static let germany = ImageAsset(name: "germany")
  internal static let spain = ImageAsset(name: "spain")
  internal static let unitedKingdom = ImageAsset(name: "united-kingdom")
  internal static let unitedStates = ImageAsset(name: "united-states")
}
This is just the tip of the iceberg - SwiftGen lets us manage our custom colors, fonts, segues, localizable strings, Interface Builder files, etc., in the same way.
Why Should I Use SwiftGen?
Typically, you'll include a call to SwiftGen in your project's Build Phases which will update the auto-generated code to reflect the current state of your project and its resources. This helps ensure that any potential issues related to removed assets, colors, localized text, segues, storyboards, etc. are raised as compile-time errors instead of runtime errors.
Simply put, if a developer on your team accidentally removes a resource that is currently in use in your project, you will now see a clear compile-time message instead of a crash at runtime when you attempt to access that resource.
Installation & Configuration
When it comes to installing this tool, we have a few options, but for simplicity's sake I'll use Cocoapods:
pod 'SwiftGen'
You can install this using Homebrew as well.
Let's take a look at a sample project I've put together:
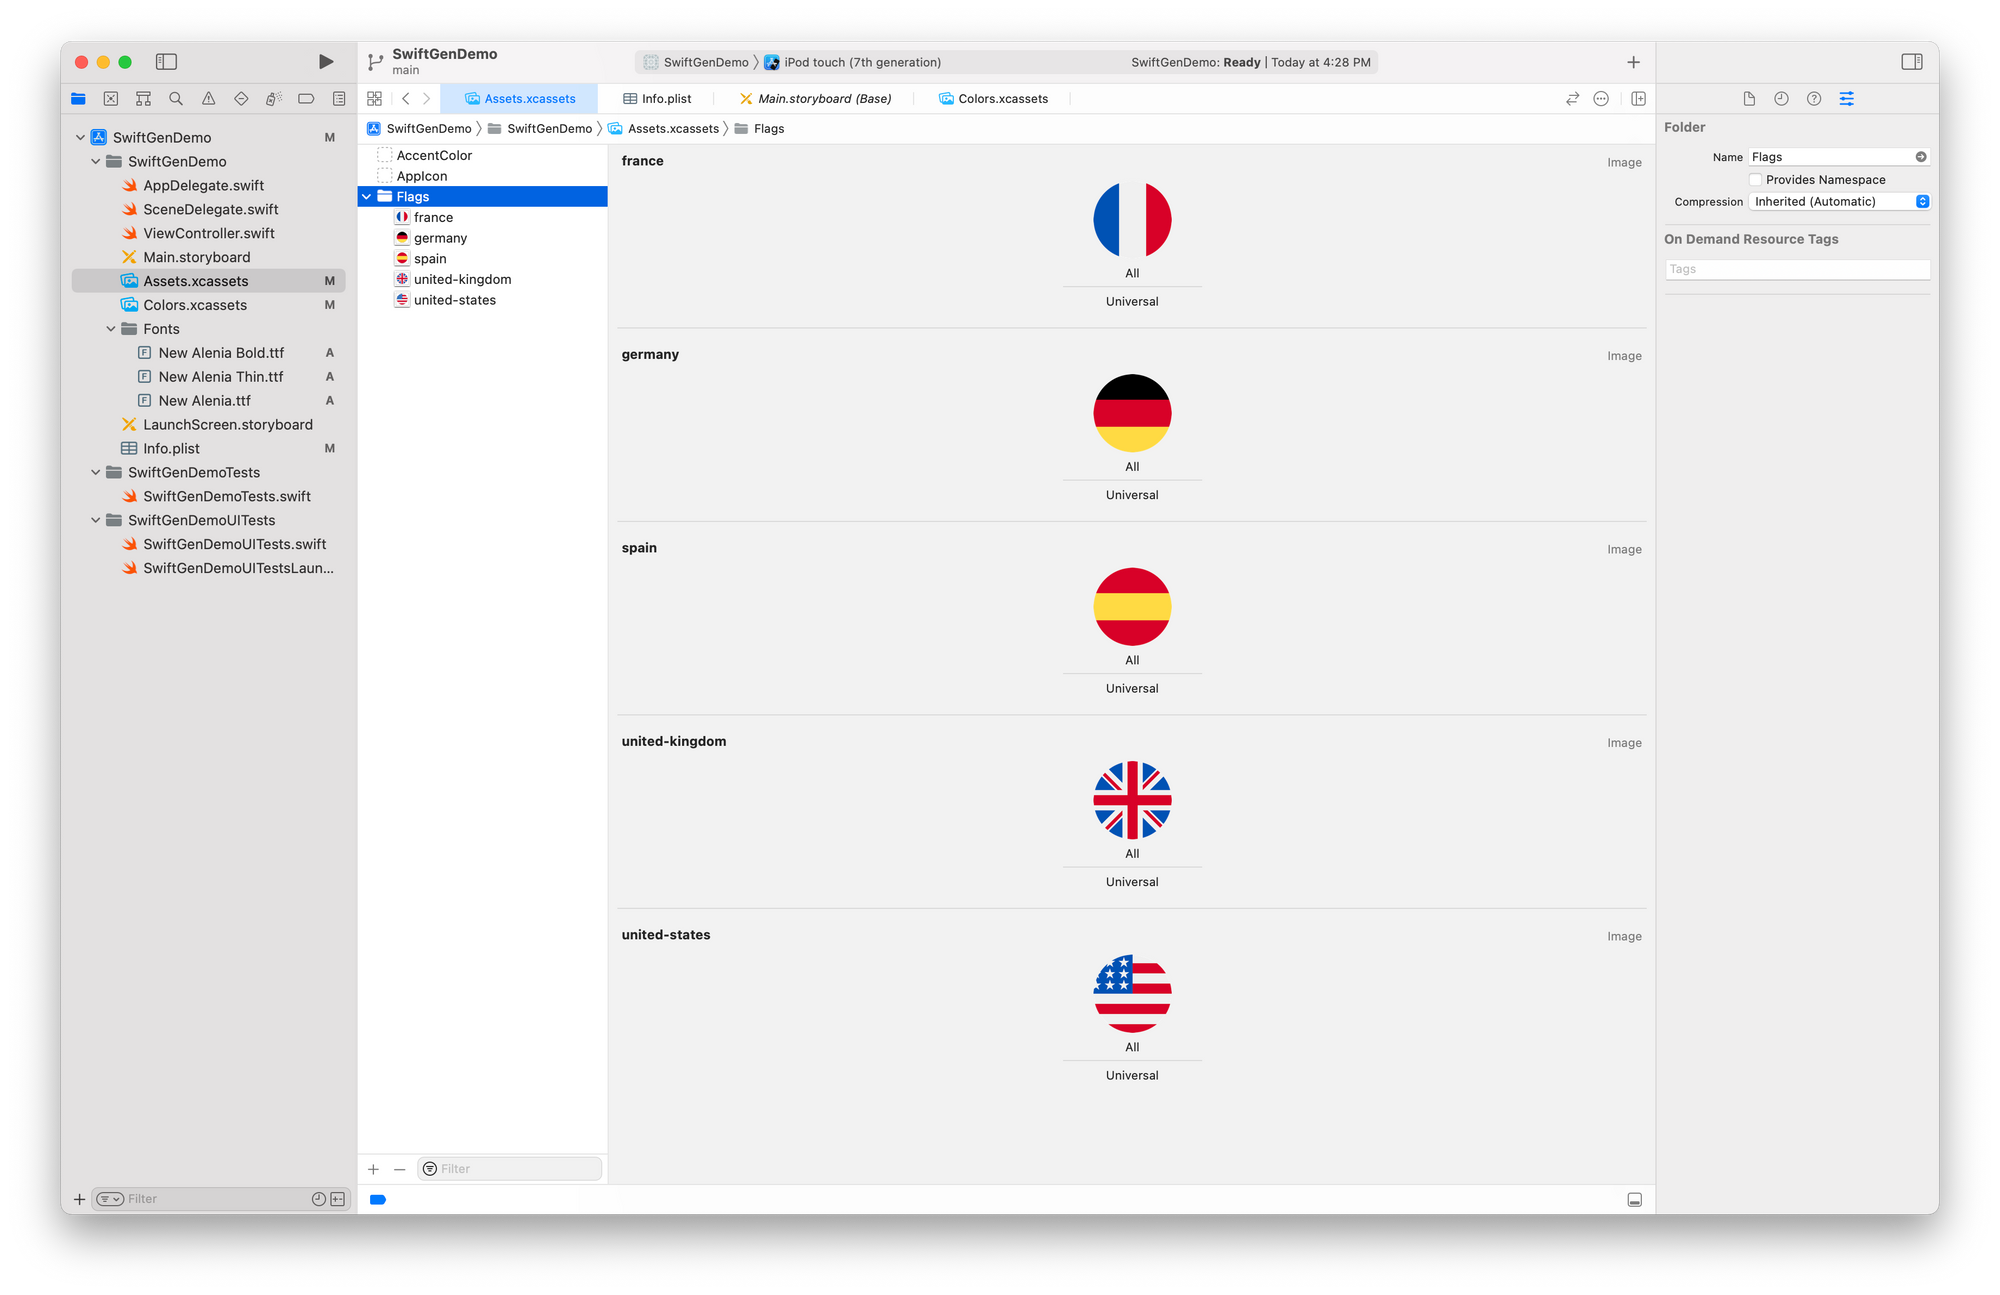
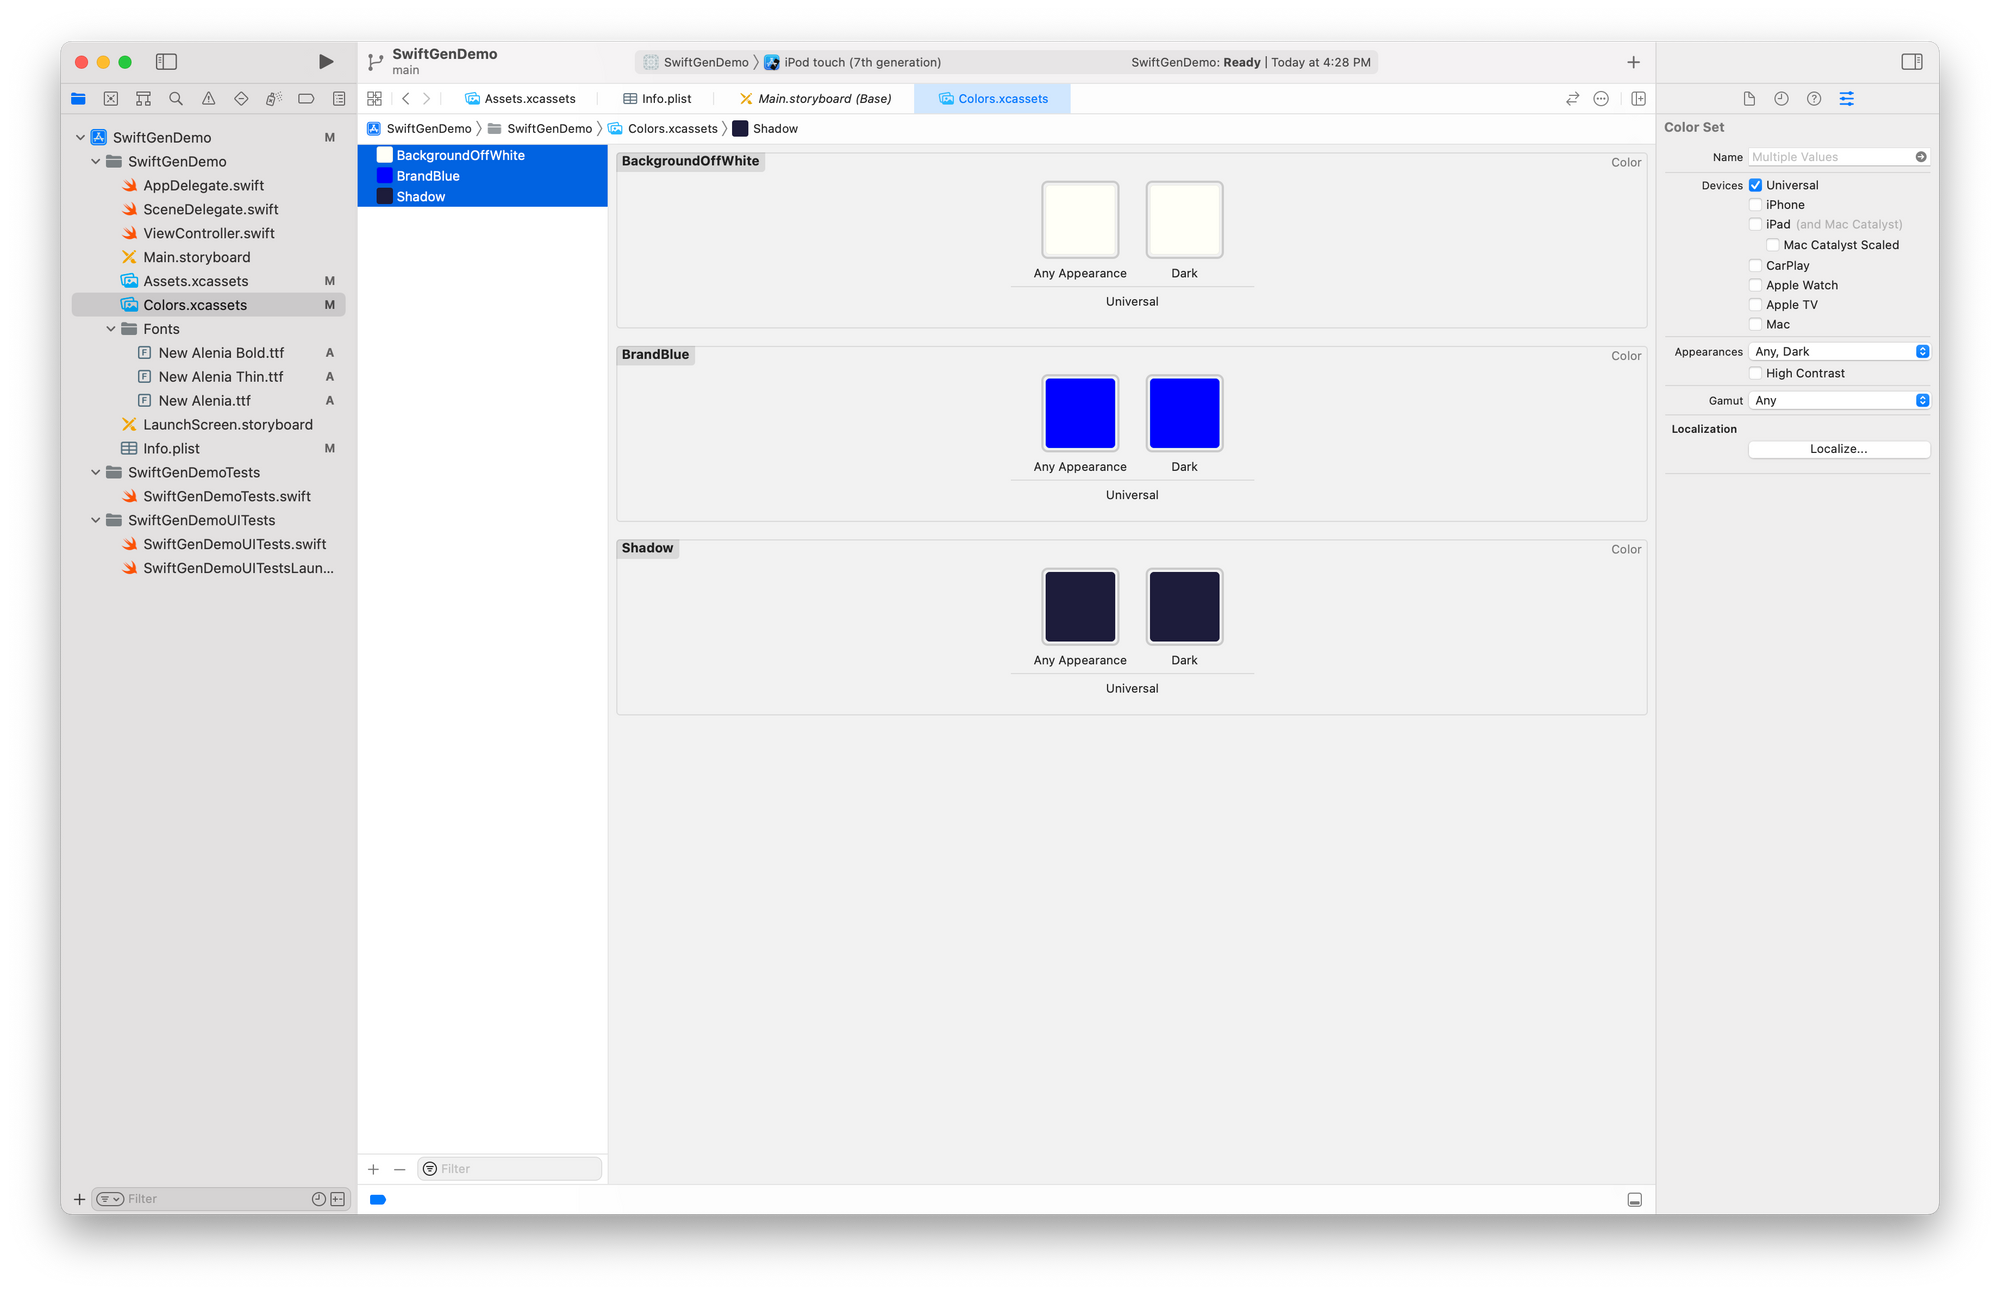
Though it's a fairly simple project, you can see that it has custom images, custom colors, storyboards, and custom fonts and that it's representative of what a larger Xcode project might look like.
With the installation out of the way, we can now configure our project to use SwiftGen.
In Terminal, navigate to your project's root directory and run:
swiftgen config init
This will generate a swiftgen.yml file which we'll use to configure how SwiftGen integrates with our project.
## Generate constants for your Assets Catalogs, including constants for images, colors, ARKit resources, etc.
##   This example also shows how to provide additional parameters to your template to customize the output.
##   - Especially the `forceProvidesNamespaces: true` param forces to create sub-namespace for each folder/group used in your Asset Catalogs, even the ones without "Provides Namespace". Without this param, SwiftGen only generates sub-namespaces for folders/groups which have the "Provides Namespace" box checked in the Inspector pane.
##   - To know which params are supported for a template, use `swiftgen template doc xcassets swift5` to open the template documentation on GitHub.
# xcassets:
#   inputs:
#     - Main.xcassets
#     - ProFeatures.xcassets
#   outputs:
#     - templateName: swift5
#       params:
#         forceProvidesNamespaces: true
# output: XCAssets+Generated.swiftWe can use this file to specify how SwiftGen should handle different targets and resources in our project, the input file paths to consider, and the desired file path for the auto-generated Swift output.
If we wanted to add support for using SwiftGen with our Assets.xcassets, the configuration would look like this:
## In case your config entries all use a common input/output parent directory, you can specify those here.
##   Every input/output paths in the rest of the config will then be expressed relative to these.
##   Those two top-level keys are optional and default to "." (the directory of the config file).
 input_dir: ./SwiftGenDemo
 output_dir: ./SwiftGenDemo/Generated

## Generate constants for your Assets Catalogs
xcassets:
  - inputs:
    - Assets.xcassets
    outputs:
      - templateName: swift5
        output: Images.swift
  - inputs:
      - Colors.xcassets
    outputs:
      - templateName: swift5
        output: Colors.swift
After verifying our .yml file's correctness with swiftgen config lint , we can run swiftgen to generate our code.
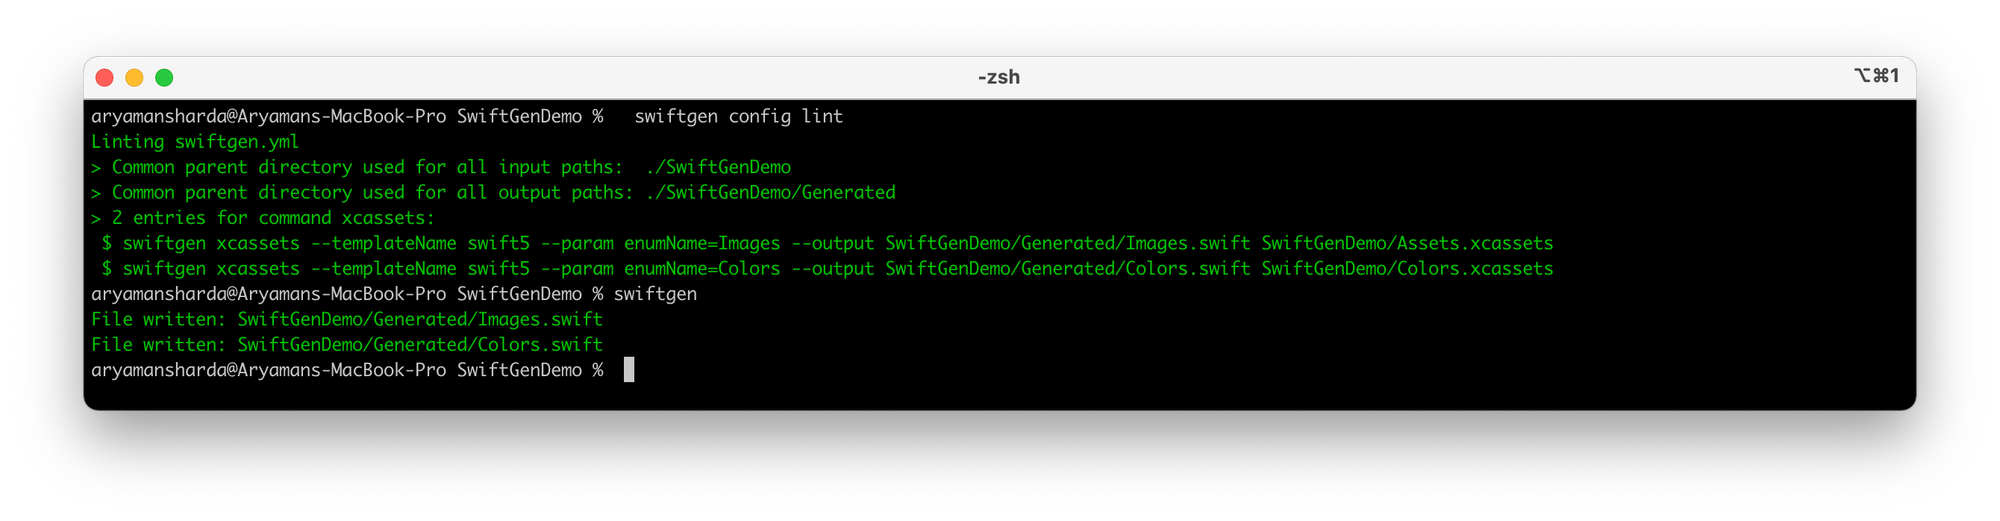
When we take a look at Images.swift, we'll see some boilerplate setup code, but more importantly, we'll find:
...

internal enum Images {
  internal static let accentColor = ColorAsset(name: "AccentColor")
  internal static let france = ImageAsset(name: "france")
  internal static let germany = ImageAsset(name: "germany")
  internal static let spain = ImageAsset(name: "spain")
  internal static let unitedKingdom = ImageAsset(name: "united-kingdom")
  internal static let unitedStates = ImageAsset(name: "united-states")
}

...
Similarly, in our Colors.swift, we'll find:
...

internal enum Colors {
  internal static let backgroundOffWhite = ColorAsset(name: "BackgroundOffWhite")
  internal static let brandBlue = ColorAsset(name: "BrandBlue")
  internal static let shadow = ColorAsset(name: "Shadow")
}

...
With the automatic creation of these enums, we now have a type-safe way for us to access all of the various assets and resources in our project.
The final step of the integration is to add Images.swift and Colors.swift to our Xcode project.
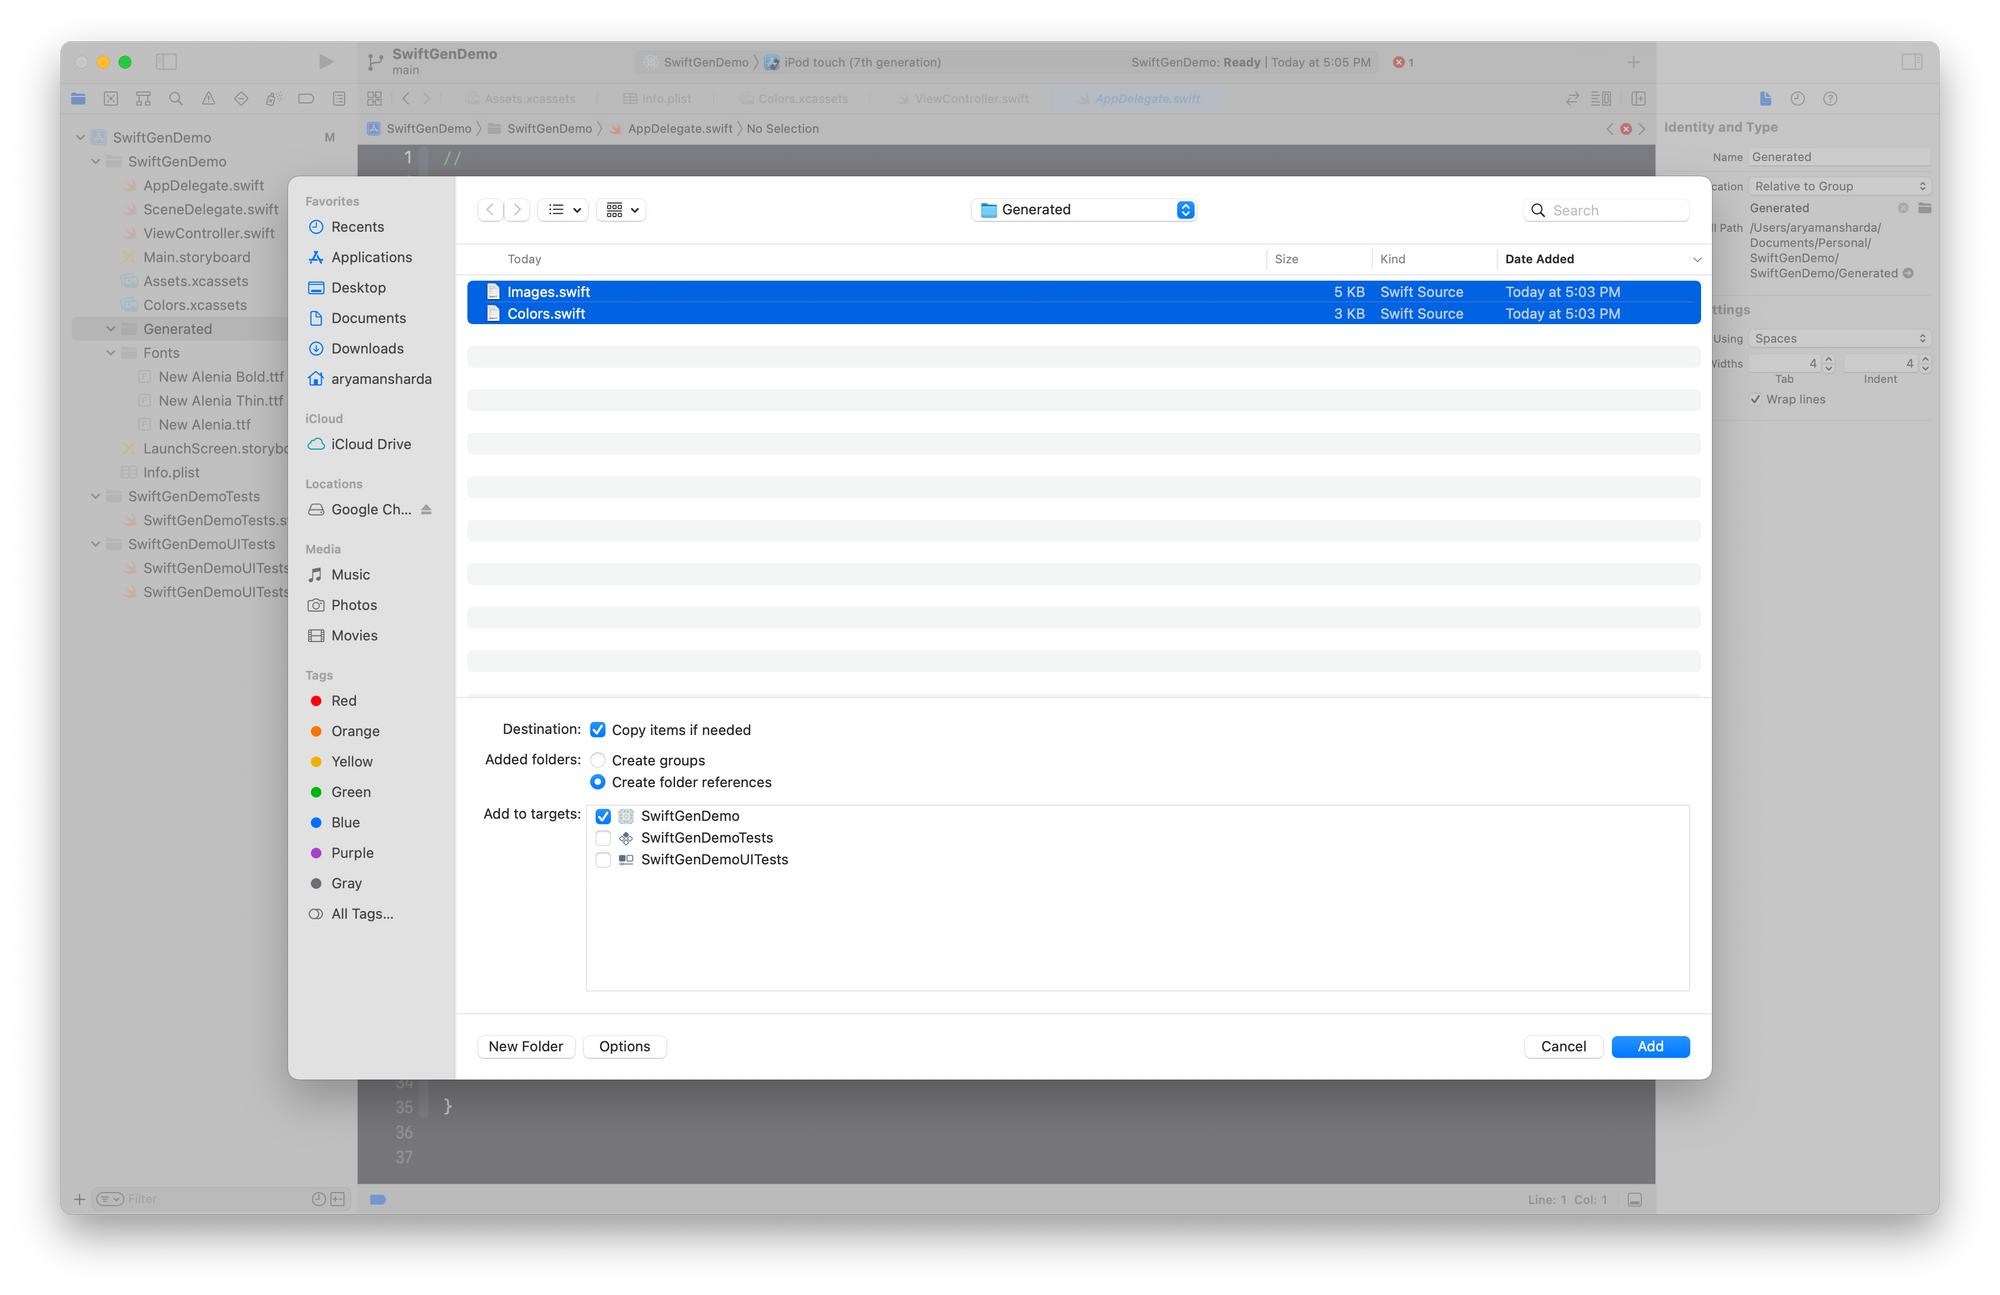
While the setup process can seem a little tedious, we only have to go through this flow once.
With SwiftGen installed and the auto-generated Swift files added to our project, our code is starting to look much cleaner:
class ViewController: UIViewController {
@IBOutlet var headerImageView: UIImageView!
override func viewDidLoad() {
super.viewDidLoad()
headerImageView.image = Images.unitedStates.image
view.backgroundColor = Colors.backgroundOffWhite.color
}
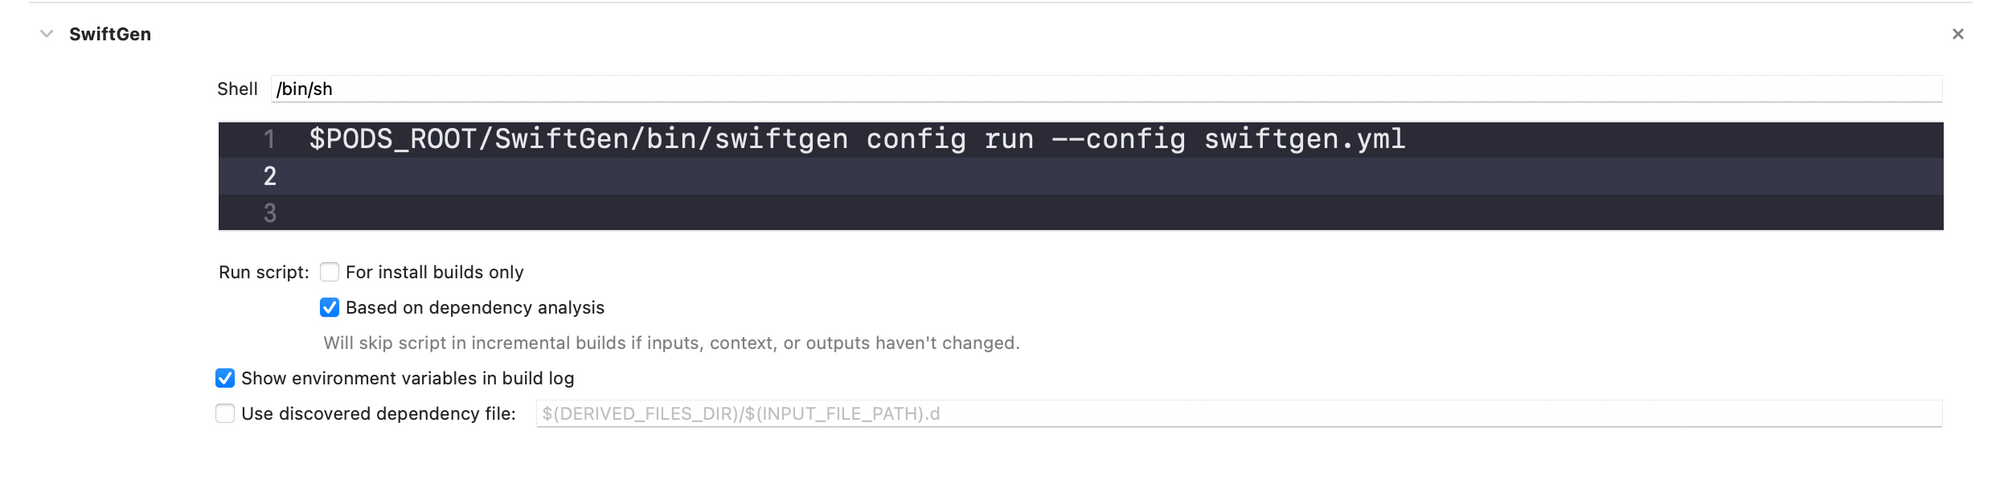
}Finally, we'll add a call to execute swiftgen as part of our Build Phases. This will help us ensure that the state of our project and the state of the auto-generated code are always in sync.
Now, if someone were to remove the unitedStates photo, it would trigger a compile-time error at headerImageView.image = Images.unitedStates.image instead of a runtime error.
We can extend our SwiftGen configuration to support this same behavior on any of the segues, .xibs, colors, fonts, localized text, etc. in our project. Moreover, you can easily customize the templates SwiftGen uses to match your preferred naming and style conventions or introduce different behavior based on the target being processed.
We're just scratching the surface of some of the advanced features in SwiftGen. If you're interested in taking a deeper dive, you can find more information here.
It would be impossible to discuss new tooling without including the obvious disclaimer:
With SwiftGen, you'd be introducing a new 3rd-party dependency into your project, and while it's actively maintained, it fundamentally changes how you access and manage your project's resources.
If you decide to use this tool, you may want to test it out on a side project before introducing it into your professional workflow. Once it's been incorporated into your project and the code has been modified to use it, it can be very difficult to de-integrate.
I've used SwiftGen in all of the projects I've worked on over the last few years and I have never run into a reason to de-integrate the tool.
Using SwiftGen, you should be able to make your codebase both cleaner and more type-safe. Knowing that any breaking changes to your project's resources will be raised as compile-time errors enables you and your development team to move faster and with greater confidence in the stability of your application.
If you're interested in more articles about iOS Development & Swift, check out my YouTube channel or follow me on Twitter.
Join the mailing list below to be notified when I release new posts.
Do you have an iOS Interview coming up?
Check out my book Ace The iOS Interview!